How to Turn a Hardwired Chandelier Into a Plug in

Products linked below have been researched and tested on this project. As an amazon associate, we earn from qualifying purchases.
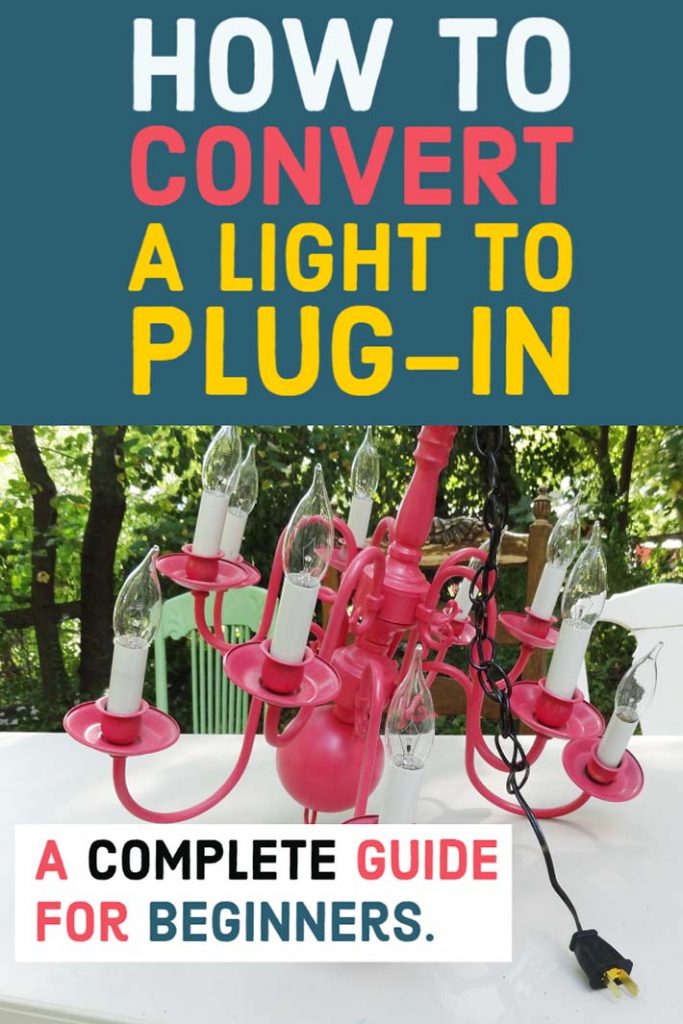
You don't need to know how to require a light fixture to convert a hardwire light fixture to plug-in- it's a simple DIY anyone can do in minutes. In this article, I show step by step how to add a plug to a hardwired light fixture so it can be used anywhere an outlet is handy!
I love chandeliers, but I used to think they were limited placement within reach of ceiling wiring- but when a friend asked for help hosting an evening bridal shower under the sprawling branches of Hawk Hill's ancient live oak, I started exploring how to make chandeliers a part of the outdoor lighting at my friend's special event.

Many questions to the knowledgeable staff at my local hardware store led me to find out that it's actually just a 5-minute job to convert a light fixture from needing to be hardwired to an electrical box to simply plugging into any outlet. The best part? It just takes one cheap part to make this switch! Once the plug is added, a chandelier can go anywhere an extension cord can.
Here's an illustrated tutorial on how to add a plug to a hardwired light fixture.
Supplies Needed for Converting Hardwired Fixture to Plug-In Swag Style:
- EITHER: 1 x 2-prong Polarized PlugOR a 3-prong
- Three Prong Grounded Plug for about $1 more.
I've not been able to find this item at a Big Box Home Improvement store like Lowes or Home Depot, but Ace Hardwares usually have them in stock. Ace's part number for the 3 prong replacement plug is SA540BKCC10
Tools Needed:
- Screwdriver (If you found the plug I sourced, you can use either a flat or phillips screwdriver)
- Wire Strippers (optional! The wires on your light fixture will probably already be stripped. If you don't have wire strippers, you may be able to strip wires *carefully* with a pair of scissors)
CAUTION: Electricity can be extremely dangerous! If at any point these instructions seem unclear or don't adequately address the particularities of your light fixture, stop and consult an electrician or licensed electrical contractor.
Choose and Prep your Light Fixture
First, choose your light fixture. Thrift store chandeliers paired with a new coat of spray paint are my favorite lights to convert to lamps. They make ideal temporary lighting to use as decoration for parties, photoshoots, girl's nights, etc. In this photo, a $15 ugly brass chandelier turned pink party accessory is ready to convert from standard wiring to a plug-in fixture for use as outdoor lighting at an outdoor evening bridal shower party.
Locate, Separate, and Strip Wires
Separate the two wires that come out from the two separate sections of the cord. The plastic coating may fuse them together but to make the next step easier, you'll want to peel those two sections away from each other. A new or used household light fixture should already have these wires exposed, but if they seem too short to work with or frayed, you can cut off the frayed portion and strip coating off fresh wire to reveal unfrayed and easy-to-work-with wire.
Since the wires shown in this image were a bit frayed, I chose to make the next steps easier by cutting and stripping the coating from a new section before continuing
Acquire New Plug
Now, grab your new 2 prong plug or 3 prong plug. (My images illustrate connecting the two-prong plug, however, the process for the three-prong style grounded plug is almost identical.)
See the yellow portion? We'll be removing it to make room for wires (FYI: It might be a different color on yours)
Prepare & Open Replacement Plug
Now firmly insert a screwdriver up through the base of the replacement plug part as shown. The yellow portion (stamped "remove") will pop out, allowing access to the plug's prongs.
Remove Prongs & Loosen Screws
Once the yellow center portion is removed, the prongs will either pop out or come out with a gentle tug.
You'll notice each prong has a tiny screw that was hidden by the yellow core. This screw will secure the chandelier's wires to the prongs in order to conduct the electrical current.
Loosen but do not remove these screws.
Thread Plug onto Light Fixture's Cord
Feed the light fixture's wires up through the base of the plug and out the front. Then push the body of the plug down the wire and out of the way. Next, attach one wire to one prong's screw as shown. Wind the wire in through the notch in the plug and snugly around the screw post. Tighten the screw to securely hold the wire.
(In my several dozen times repeating this process on thrifted chandeliers that I flipped in my flea market booth, I've managed to forget this step more than a few times and had to repeat it, so don't get overly enthusiastic and jump past threading the plug on, straight to connecting wires)
Attach each wire to 1 Prong
Repeat the previous step with the other prong and the unused wire. Make sure your wire is NOT stripped past the end of the prong (see image).
Reassemble Plug with New Wires
Next (and this part can be just a bit tricky) push the prongs back into the plug housing with the head of the screws facing outward.
Seat the prongs snugly into each side as shown.
It may help to use a pair of pliers to grip the prong and push it snugly into place.
Replace center portion of plug
Now, replace the center yellow portion (pushing it completely in, until the black and yellow fronts are flush).
If the middle portion won't insert fully, remove it and recheck that the prongs, screws, and wires are settled fully into the sides.
Enjoy
Once the plug is fully reassembled and fit back together with no bulges, misfit pieces, or exposed wires, your new plug in style light is ready to use as a lamp, swagged fixture, or as a portable light!
It's that easy to turn a hardwired light fixture into a lamp that can be used in any (dry and safe) spot that an extension cord can reach! You can even use a Wireless Wall Switch to turn the plugged-in lamp on and off from a doorway or nightstand. (In fact, this is how I light my living room- see my article on how I added a chandelier with a wall switch to my Seattle apartment!)
CAUTION Electricity is very dangerous! If at any point these instructions seem unclear or don't adequately address the particularities of your light fixture, stop and consult an electrician or licensed contractor.
If you've struggled with lighting in an older home with no wiring for an electrical box in the ceiling of living rooms, be sure and check out my article on how I used this method to hang a chandelier from the ceiling of my living room- creating bright, beautiful overhead lighting even in an older home with no wiring except floor level electrical outlets.
see also:
A REQUEST: Hawk-Hill.com is reader supported. If this tutorial saved you time or money on your project, please consider consider saying thanks by buying the author a coffee.
How to Turn a Hardwired Chandelier Into a Plug in
Source: https://www.hawk-hill.com/diy-hardwired-light-to-plug/